Swivel rocking chairs are convenient and comfortable. However, parts can break down over time, and the rocking base may stop moving back and forth. When this occurs, you don’t have to get rid of your chair; you can fix it. In this guide, we’ll cover how to properly repair swivel rocking chairs. You’ll be rocking comfortably again in no time.
What Is a Swivel Rocking Chair?
Swivel rocking chairs are unique furniture pieces that offer the comfort of a rocking and swivel chair. Their innovative design allows for 360 degrees of cushiony movement, so you can always find the right angle to relax.
Chair Upgrade Tip
While you can buy a swivel rocking chair for your office space, you can also purchase the rocker components to upgrade the furniture you own.Some owners turn living room chairs or kitchen seating into comfortable rockers.
Step 1: Shop for a New Base
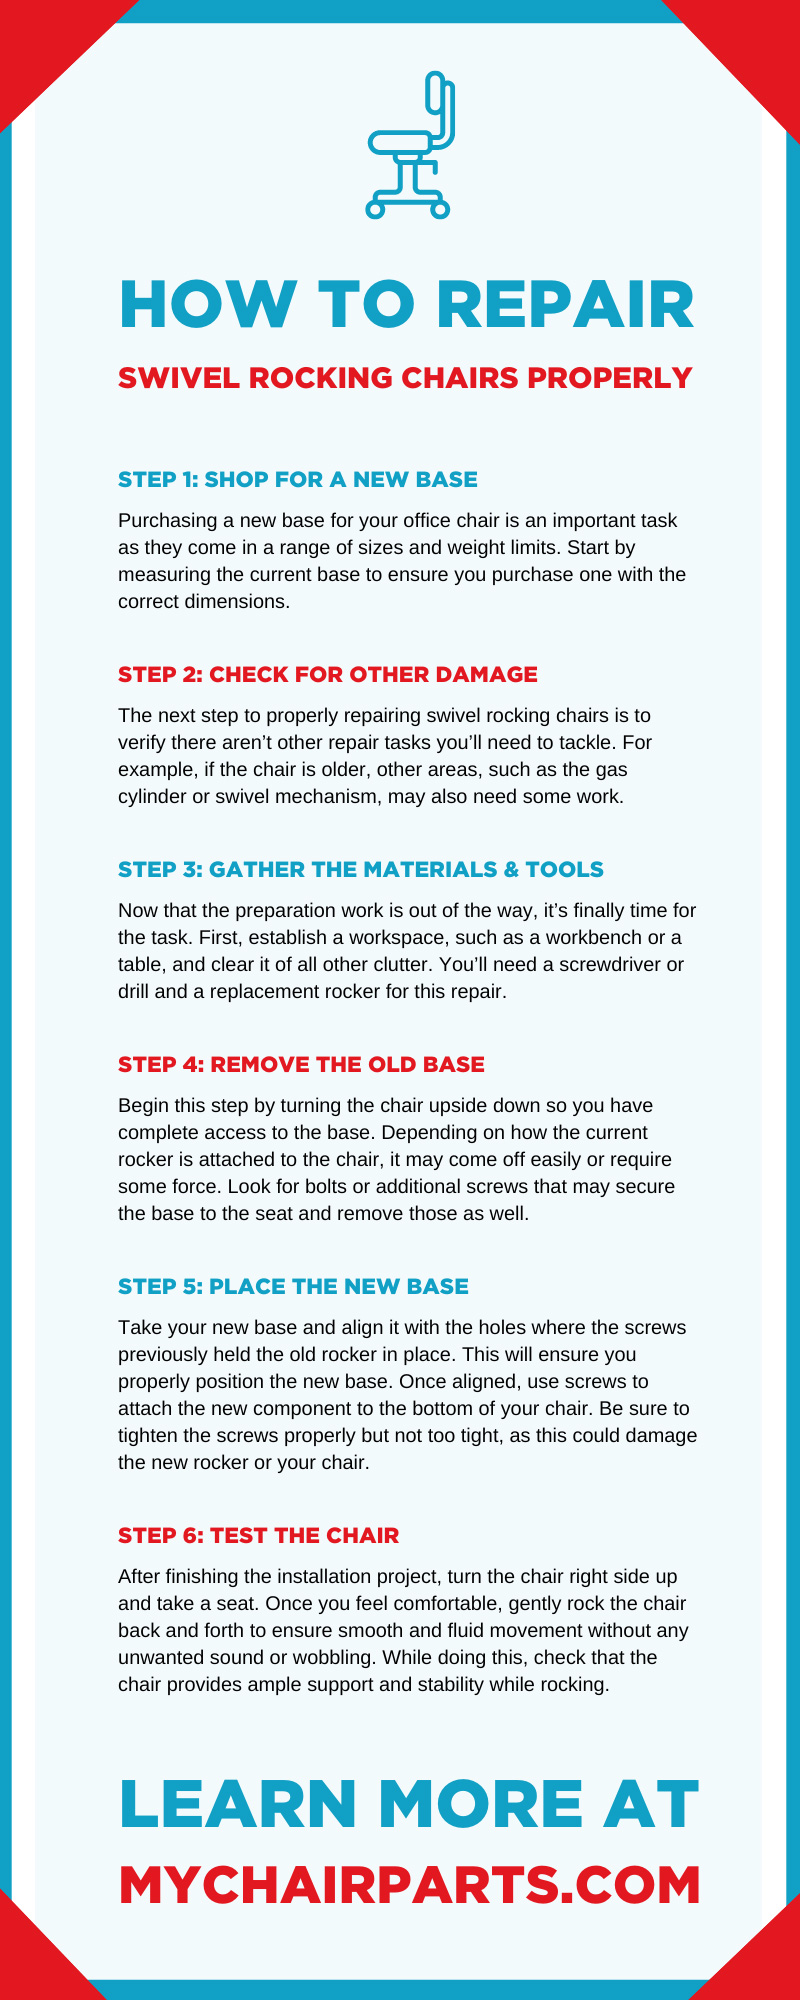
Purchasing a new base for your office chair is an important task as they come in a range of sizes and weight limits. Start by measuring the current base to ensure you purchase one with the correct dimensions.
From there, shop for a rocker base that will fit your chair. As you shop, also evaluate the weight limits for the component. Most manufacturers create standard, heavy-duty, and extra-heavy-duty bases to meet the needs of all customers.
Swivel Chair Parts
Buy your swivel rocker base from Swivel Chair Parts. We carry various models and include floor glides so you don’t have to worry about the base scuffing your floors.
Check Reviews
Before adding any items to your cart, check the product and manufacturer reviews. The last thing you want to do is go through the work of installing a new base only for it to break. Lower-quality parts may cost less, but they’re often subpar compared to premium options. If you regularly use the chair, it’s worth splurging on premium repair parts.
Step 2: Check for Other Damage
The next step to properly repairing swivel rocking chairs is to verify there aren’t other repair tasks you’ll need to tackle. For example, if the chair is older, other areas, such as the gas cylinder or swivel mechanism, may also need some work.
Broken Gas Cylinders
Signs of a broken gas cylinder include difficulty raising or lowering the chair, sinking unexpectedly, or leaning to one side. You may also notice a hissing sound when you try to adjust the seat height, indicating a gas cylinder leak.
Replace a broken gas cylinder as soon as possible to avoid the chair becoming unstable or even tipping over.
Damaged Swivel Mechanism
You may notice that your chair is not rotating as smoothly as it used to. Likewise, you may experience resistance or a jolting sensation when trying to turn the chair. In some situations, the chair also makes a clicking or grinding sound when the swivel mechanism breaks.
Step 3: Gather the Materials & Tools
Now that the preparation work is out of the way, it’s finally time for the task. First, establish a workspace, such as a workbench or a table, and clear it of all other clutter. You’ll need a screwdriver or drill and a replacement rocker for this repair.
Make sure that all your materials are within reach so you don’t have to pause your progress, which could lead to missing an essential step.
Step 4: Remove the Old Base
Begin this step by turning the chair upside down so you have complete access to the base. Depending on how the current rocker is attached to the chair, it may come off easily or require some force. Look for bolts or additional screws that may secure the base to the seat and remove those as well. Use your screwdriver to remove all screws, then set them in a dish or container so you don’t lose them.
Disposing of Broken Bases
Don’t just toss the old base into the trash. Some towns’ recycling centers may offer services to properly dispose of the rocker, especially if it’s metal. Likewise, some city regulations may forbid using the standard trash receptacle for this component.
Step 5: Place the New Base
Take your new base and align it with the holes where the screws previously held the old rocker in place. This will ensure you properly position the new base. Once aligned, use screws to attach the new component to the bottom of your chair. Be sure to tighten the screws properly but not too tight, as this could damage the new rocker or your chair.
Installing a Mount
Sometimes, the new base isn’t the same size as the old one, and you can’t find the extra dimensions you need. If this occurs, you’ll need to place a wooden mounting board on the bottom of the chair and install the rocker base. You’ll also need to install a mount if you add a rocker to upgrade furniture that doesn’t have it.
Step 6: Test the Chair
After finishing the installation project, turn the chair right side up and take a seat. Once you feel comfortable, gently rock the chair back and forth to ensure smooth and fluid movement without any unwanted sound or wobbling. While doing this, check that the chair provides ample support and stability while rocking. Likewise, pay extra attention to any signs of discomfort or awkward positioning, such as the backrest being too low or the seat being too shallow.
If you encounter any problems, turn your chair over and inspect the base to identify potential issues. Don’t hesitate to make adjustments or seek professional help if needed. It’s always better to be safe than sorry when it comes to something as integral as your chair’s sturdiness and comfort.
Shop at Swivel Chair Parts
Swivel Chair Parts has top-quality replacement pieces for your swivel chair. Whether you need a rocker base, new wheels, a gas cylinder, or a mounting board, we’ve got it. Plus, we have tutorial videos created by our founder, who has worked on furniture since 1985!
Don’t hesitate to contact us if you have questions about what parts you need to buy or how you should begin this DIY project.